How To Plant and; Grow New Potatoes – Harvest Baby Potatoes This Summer! :- Nothing compares to the flavor of freshly planted baby potatoes. These young potatoes are a lovely addition to any dish because of their delicate flavor and sensitive texture. Thankfully, planting fresh potatoes is a simple procedure that can produce an abundant crop by summer.
How To Plant and; Grow New Potatoes – Harvest Baby Potatoes This Summer!
This guide will assist you with planting and caring for fresh potatoes, whether you are an experienced gardener or a novice, so you may savor their deliciousness in a matter of months. Continue reading to learn how to plant and harvest your own young potatoes this summer.
Picking Potato Seeds
Selecting the appropriate seed potatoes is the first step in developing new potatoes. Small tubers cultivated especially for planting are known as seed potatoes.
Also see :- 7 Fascinating Indoor Plant Facts
They come in a variety of kinds and are often free of illness. Select certified seed potatoes from a provider or garden center with a good reputation. “Yukon Gold,” “Red Norland,” and “Fingerling” potatoes are popular types for baby potatoes.
Setting Up the Planting Area
Potatoes grow best in rich, well-drained soil that has a pH of 5.0 to 6.0. Pick a spot that gets at least 6 to 8 hours of direct sunlight per day. To improve soil fertility and drainage, till the soil to a depth of 10 to 12 inches before planting, and then mix with compost or well-rotted manure.
Planting Potato Seeds
1. Cutting and Chitting:- Cut your seed potatoes into smaller pieces if they are bigger than a golf ball, making sure that each piece has a sprout or two “eyes” on it. For the purpose of forming a protective callus over the sliced surfaces, let the pieces air dry for a few days. Chitting is a procedure that promotes sprouting and helps stop decay.
2. Planting: – Two to four weeks before to the last anticipated frost date, or once the soil has warmed to roughly 50°F (10°C), plant the seed potatoes. Make trenches that are 6 to 8 inches deep and spaced two to three feet apart. Arrange the seed potato pieces in the trenches, 12 inches apart, cut-side down and eyes up.
Add 3–4 inches of soil on top, then thoroughly water.
Handling Your Plants: Potatoes
1. Hilling: This technique, known as hilling, involves heaping earth around the base of the growing potato plants. In addition to increasing output, this helps the plants grow by shielding the tubers from sunlight, which would otherwise render them bitter and green. Every two to three weeks, till the hills are approximately eight to ten inches high, add soil to the plants.
2. Watering: Make sure the soil is continuously damp but not soggy. Every week, potatoes require one to two inches of water. As the plants get bigger, water them less to keep the tubers from decaying.
3. Fertilizing: Apply a balanced fertilizer or a particular fertilizer that is high in potassium and phosphorus to your potato plants. As directed by the manufacturer, apply fertilizer upon planting and once more in the middle of the growing season.
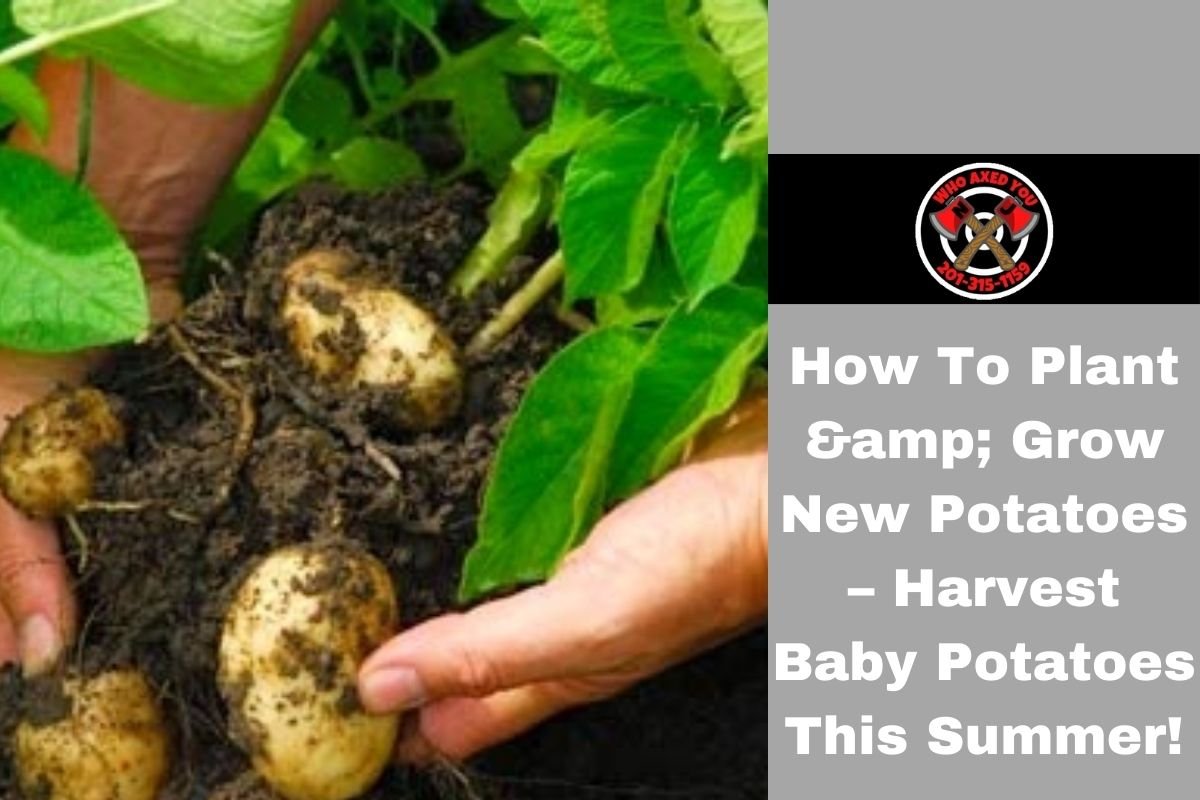
Harvesting Baby Potatoes: Ten weeks after sowing, baby potatoes are ready to be harvested. This is how you gather them:
1. Time: Gather harvest at the onset of blossoming. This means that small, fragile potatoes are ready to be dug up and that tubers are beginning to form. Dig around the plants’ bases lightly with your hands or a garden fork.
2. Storage: Keep just picked baby potatoes somewhere cold, dry, and dark. To prolong their shelf life, don’t wash them until you’re ready to use them.
Final Thoughts
You can enjoy a simple and delightful gardening job by planting fresh potatoes, which will provide tasty baby potatoes by summer. You’ll reap the rewards of a plentiful harvest that will elevate your summertime meals with the right care and attention. Happy gardening!